 Skip to content

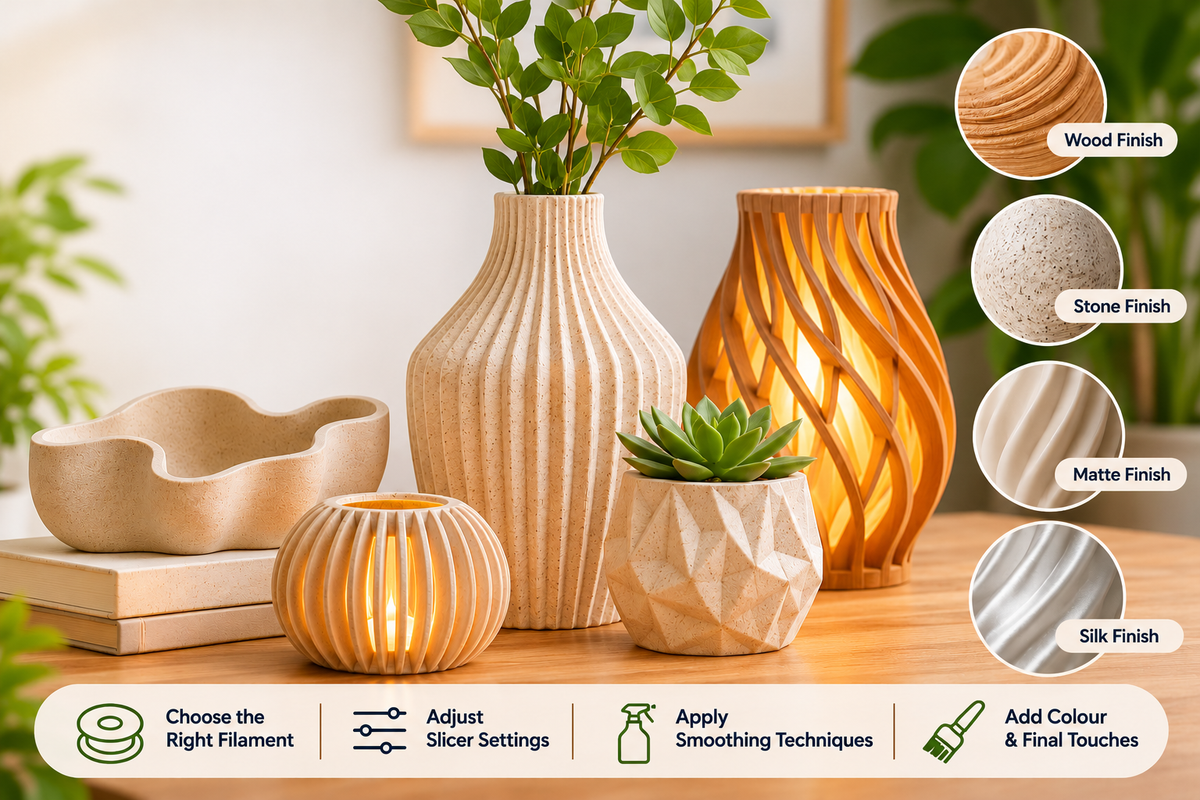
Natural-looking finishes depend on surface behaviour at two levels, namely the filament and the geometry the slicer generates. The most effective 3D printed home décor ideas combine both, so that little correction is needed afterwards.
In this blog, you will find filament pairings, textured 3D printing through slicer settings, and the smoothing and colour techniques that make 3D printed decorative objects read as stone, timber or ceramic.
3D Printed Home Decor Ideas by Material and Form
Both effects originate in particles within the filament itself: stone-like particles in a 3D printing marble filament and fine wood particles in a 3D printing wood filament, so the appearance is present straight from the printer. The table pairs each material with the form that displays it to advantage.
|
Piece |
Filament |
Rationale |
|
Coasters, trays and bookends |
Marble PLA |
Broad, uninterrupted faces display the veining at full extent |
|
Wall plaques and low-relief accents |
Wood PLA |
Straight, shallow forms allow the grain to read as timber |
|
Vases and lamp bases |
Silk PLA |
A glossy finish emphasises smooth, continuous curves |
|
Planters and shelf ornaments |
Matte PLA |
A diffuse surface suits soft, low-reflectivity styling |
Smoothing Flat, Curved and Vertical Surfaces
-
Ironing for Flat Tops
Ironing passes the nozzle over each flat top surface a second time at the same height, extruding minimally and travelling at 45 degrees to the top infill in PrusaSlicer, which removes the ridged finish that the final layer leaves. The technique acts only on flat, upward-facing surfaces, so a height range modifier can confine it to the relevant part of a model. Settings allow every flat top surface to be ironed or only the topmost layer, and the second option is more economical for pieces with stepped tops. PrusaSlicer supports it from version 2.3.0, and Cura, Orca Slicer and Bambu Studio include it. Pairing it with monotonic top-layer infill, a PrusaSlicer pattern, improves the result further.
-
Variable Layer Height for Curves
Curved and sloped surfaces show stepping because every layer has a fixed height. Variable layer height assigns thin layers to those regions and thicker layers to vertical walls, which preserves quality where it is visible. The function is available in PrusaSlicer, Cura and Bambu Studio. An adaptive mode sets the profile automatically, and heights can also be painted by hand where only one region needs detail. Domes, spherical vases and the shoulders of bottle forms benefit most.
-
Seam Control for Vertical Walls
A conventional seam leaves a vertical line where each wall loop starts and ends. Scarf seams overlap those two points with a tapered ramp, reducing the visibility of the line. Bambu Studio introduced them in version 1.9, aiming to improve seams without changing line width or reducing speed, and it selects automatically where they suit a model. PrusaSlicer and OrcaSlicer offer them too, with PrusaSlicer applying them to smooth perimeters by default. They are less effective at sharp corners and overhangs, where seam painting is the alternative. Seam painting, available from PrusaSlicer 2.3 and in OrcaSlicer, places enforcers along a rear edge and blockers over prominent faces, and with aligned seams the line forms in the middle of the enforcer area.
Fuzzy skin, ironing and scarf seams each add print time, which the per-feature time analysis in PrusaSlicer 2.3 and later quantifies, so they are better limited to the faces on display.
Textured 3D Printing with Fuzzy Skin
Fuzzy skin randomises the outer wall instead of following it precisely, producing a matte, finely grained surface that conceals layer lines. The effect acts on the sides of a model only, unlike a textured build plate, which marks only the underside. Four controls shape the result:
- Thickness sets the maximum distance a point may stray from the true wall, so larger values give a coarser texture.
- Point distance sets how frequently the wall is displaced, so smaller values give a denser grain.
- Wall selection applies to the effect to outer walls only or to every wall.
- Paint-on regions restrict the texture to chosen areas, such as the lower half of a planter beneath a smooth rim.
Texture settings are shared across every painted area, so two different textures on one piece require separate modifiers. Fine settings approximate sandstone, whereas coarse settings approximate bark or plaster. PrusaSlicer’s defaults of 0.3 mm thickness and 0.8 mm point distance give a moderate matte finish and serve as a starting point.
Layer Colour Changes for Strata Effects
PrusaSlicer and Bambu Studio allow a filament change to be scheduled at a chosen layer through the layer slider. Alternating two or three colours at planned heights on a vase or lamp base creates banded strata that resemble geological layers, without any painting. PrusaSlicer shows each change instantly and will offer to add the changes automatically when a model resembles a sign or plaque. A printer without a multi-material system pauses at the chosen layer, and the filament is swapped by hand before printing resumes. The change takes effect at the start of the selected layer, so heights should be read from the slicer and not estimated from the model. Where a continuous transition is preferred to banding, Gradient PLA removes the need for any filament change.
Final Thoughts on Finishing 3D Printed Decorative Objects
Creating natural-looking finishes starts with choosing the right filament and understanding how different slicer settings affect the final surface. Marble and wood filaments offer distinctive material effects, while techniques such as fuzzy skin, ironing and variable layer height help refine the finer details of 3D printed decorative objects.
3D META stocks a range of PLA, PETG and specialty filaments to suit different printing projects. If you are planning your next project, speak with the team for advice on choosing suitable materials and experimenting with textured 3D printing to achieve the finish you have in mind.